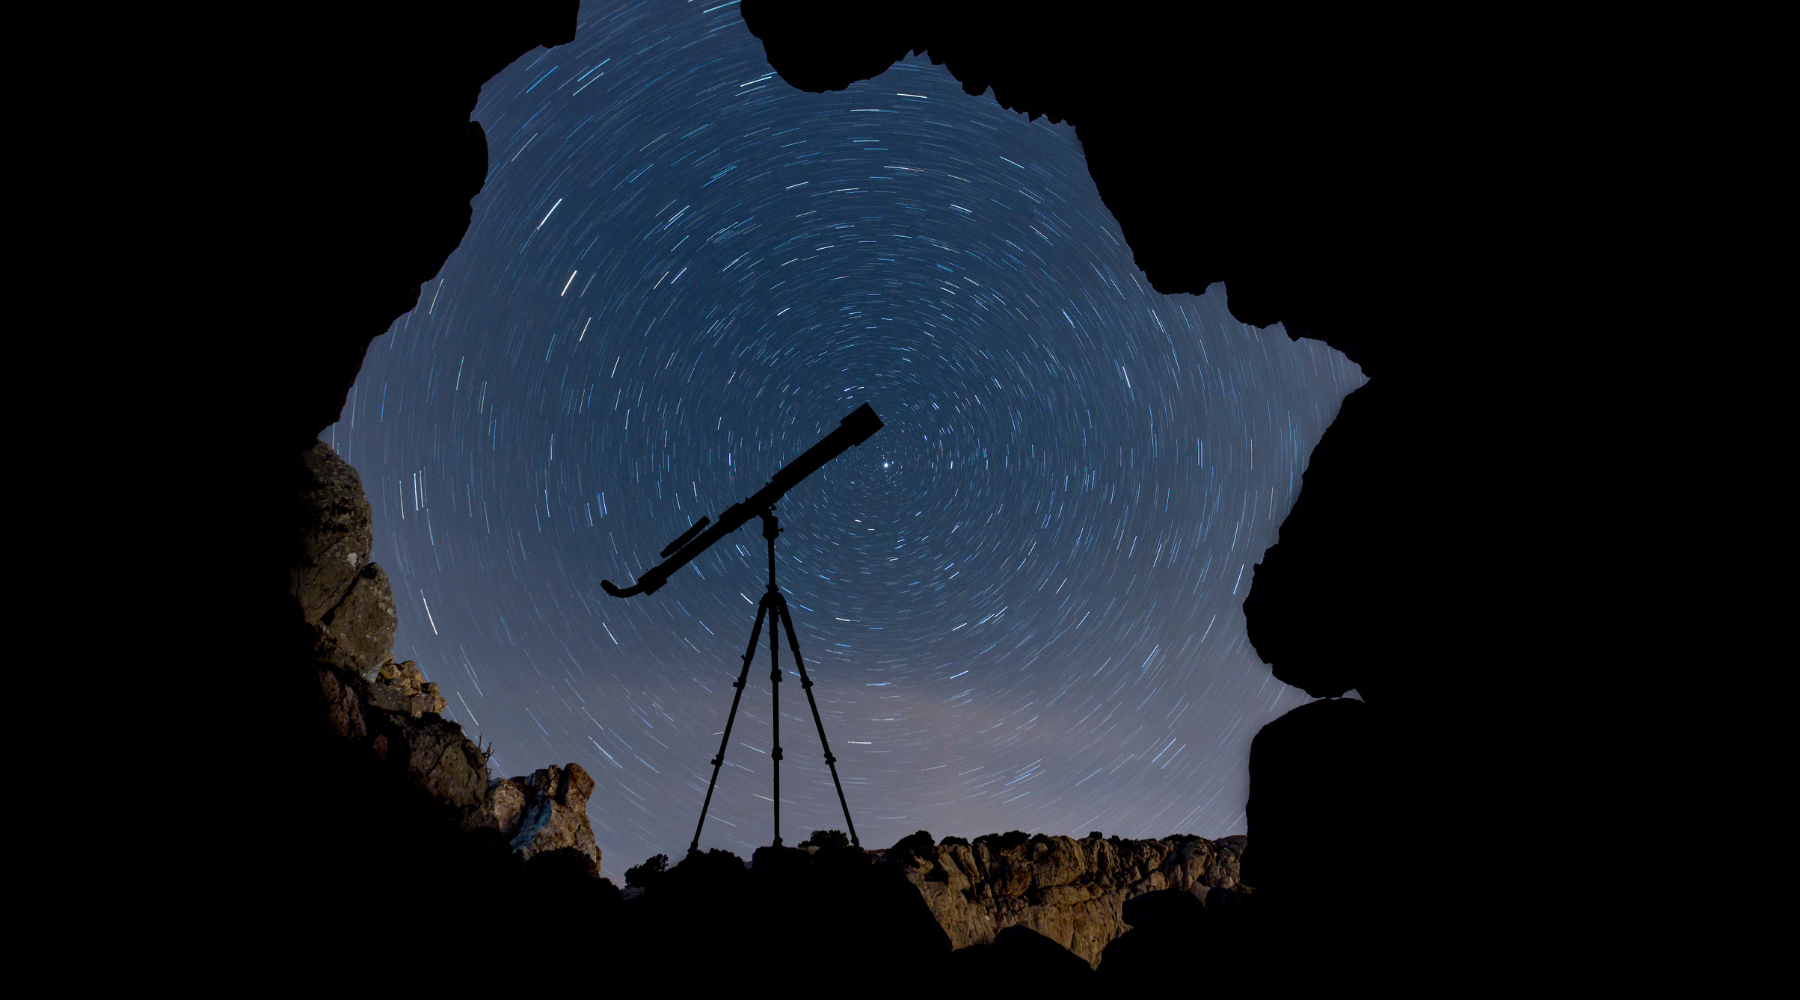
Astrophotography for Beginners: How to Start Capturing the Cosmos
Astrophotography is a fascinating hobby that combines the awe of astronomy with the creative expression of photography. Capturing the night sky, with its galaxies, stars, and celestial events, can be incredibly rewarding. This guide introduces beginners to the essentials of astrophotography, from the necessary equipment to basic techniques for capturing and enhancing celestial images.
Essential Equipment for Astrophotography
1. Telescope: A good starting point is a telescope with a sturdy mount. Refractor telescopes are popular for beginners due to their sharp imaging capabilities and ease of use. The Celestron AstroMaster 70AZ, for instance, offers a great balance of quality and affordability, making it ideal for those new to the hobby.
2. Mount: A solid, motorized equatorial mount is crucial for long exposure astrophotography as it allows you to track the movement of the stars across the sky. The Sky-Watcher EQM-35 provides beginner-friendly functionality with the ability to upgrade as your skills improve.
3. Camera: While you can start with a DSLR or a mirrorless camera, dedicated astronomy cameras like the ZWO ASI120MC-S are designed for capturing the night sky and offer more flexibility in terms of exposure settings and sensitivity to light.
4. Adapters and T-Rings: To connect your camera to your telescope, you'll need the appropriate adapters and a T-ring specific to your camera brand. These are crucial for ensuring your camera is securely attached and aligned with the telescope.
Settings for Optimal Photography
1. Focus: Achieving sharp focus is critical. Use a bright star and your camera’s live view mode to zoom in and manually adjust until the star appears as a small, sharp point of light.
2. Exposure: Start with shorter exposures to avoid star trails and gradually increase as you become more comfortable with your mount’s tracking accuracy. Experiment with different ISO settings to find the right balance between sensitivity and noise.
3. Aperture: Use the widest aperture available on your telescope or camera lens to capture as much light as possible, especially when targeting faint objects like galaxies or nebulae.
Basic Techniques for Capturing Celestial Images
1. Frame Your Shot: Plan what you want to capture using apps or software that show the night sky in real-time. Start with prominent objects like the Moon or bright planets before moving on to deep sky objects.
2. Tracking: Ensure your equatorial mount is properly aligned with the North Star (Polaris) to enable accurate tracking. This prevents objects from drifting out of frame during long exposures.
3. Multiple Exposures: Taking multiple exposures of the same object can significantly enhance the quality of your final image. This technique, known as stacking, reduces noise and brings out more detail.
Simple Post-Processing Techniques
1. Stacking: Use software like DeepSkyStacker to combine your multiple exposures into a single, higher-quality image. This software is user-friendly and specifically designed for astrophotography.
2. Adjusting Levels and Curves: Programs like Adobe Photoshop or GIMP allow you to adjust levels and curves to bring out the contrast and detail in your images. Start by brightening the highlights and darkening the shadows until the image pops.
3. Sharpening: Apply a mild sharpen filter to enhance the details of planets or the surface of the Moon. Be careful not to overdo it, as this can introduce unwanted noise.
Conclusion
Astrophotography is a skill that improves with practice and patience. Starting with the right equipment and mastering basic techniques will set you on a path to capturing breathtaking images of the universe. Remember, each photograph is not just a picture, but a personal capture of the vast and beautiful cosmos. Explore, experiment, and enjoy the journey into astrophotography.

